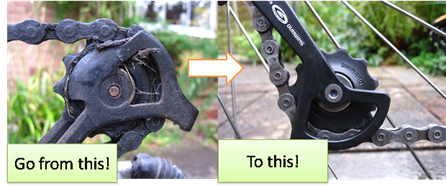
 Set aside 30 minutes this weekend to get down and dirty with your bike. If you do you will keep that new bike feeling for longer and enjoy a smoother ride with crisp gear shifting. Can’t beat it! So make sure before you head home today you pickup any of these bits you need from your local bike shop and then take a look at these easy instructions to clean your bike like the pro’s do, avoiding some of the common mistakes.
Bonus: I’m looking for some good before and after pictures. If you have a dirty bike take a picture, give it a clean and link to the pictures in the comments!
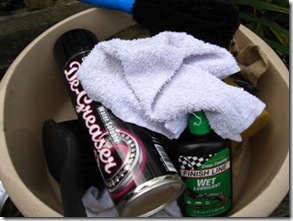
For a clean bike you will need:
- Bucket with flower patterns on the side (optional)
- Hot (but not too hot) water
- Toothbrush (old not your moms)
- Many rags, brushes, sponges
- Degreaser (I recommend one at the end of this article)
- Chain lube (Drip oil is better than spray oil to avoid wastage and target the specific parts)
- Scruffy clothes
- Pair of gloves – just buy some disposable ones – things might get messy!
Everyone cleans their bike in a different way. In my experience, after much research and honing this is the most efficient way I have found. I can usually get my bike looking brand new in less than 25 minutes. You may want to print off these instructions for reference while you clean your bike. Let’s get started.
Clean bike chain
A clean bike chain will easily shift through the gears. If you have a dirty one then it will be slow to shift and will wear down your expensive drivetrain.
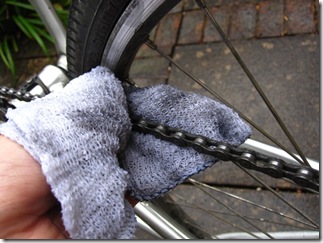
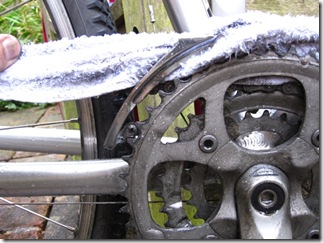
- Put the bike in the lowest gear and pedal backwards running it through a damp cloth. Sometimes this stage may be enough to get the chain clean.
- If its not then you will need to apply some degreaser onto the chain and allow it to sink in for 3-5 minutes. Don’t be overzealous as this is strong stuff. When the degreaser is applied rotate the chain to work it in.
- Dampen a toothbrush or cloth and wipe the entire chain removing any degreaser and dirt making sure to get in between each chain link
- Finally using a clean soft rag dry the chain massaging each link to make sure there is no degreaser left.
Rear sprockets and mech
Scrub the rear sprockets with hot water and a brush.
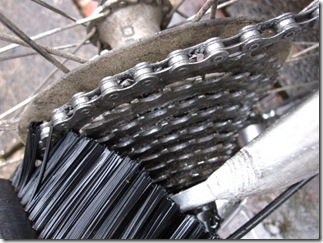 Again use a little degreaser if it is being really stubborn.
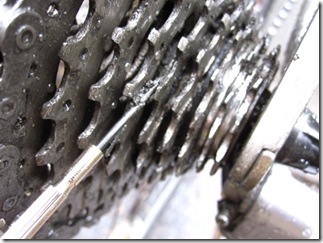
To get to the mud wedged deep inside the sprockets use a flat screwdriver or thin stick to gently poke it out. Remember dirt attracts more dirt so the more thorough you are at this stage the less likely it is you will need to clean it again in the near future.
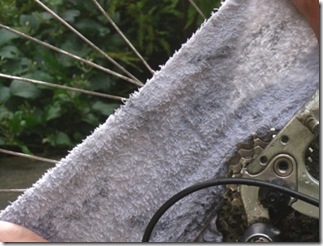
Finally wipe using a dry cloth with a flossing motion to remove anything left. This stage is important as no degreaser should remain. The effort you are putting in now helps the gears shift more efficiently.
Moving on to the rear mech. Here you want to use a brush to remove any big chunks of dirt.
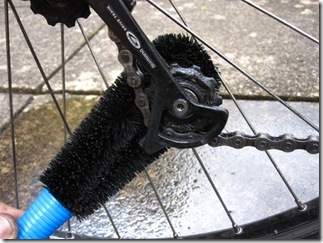 Then poke carefully with a thin screwdriver to remove any trapped dirt. Make sure you clean both sides of the rear mech.
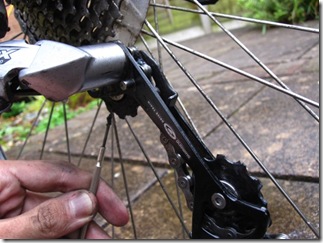 Finally apply some degreaser and use an old toothbrush to remove anything that remains.
Front mech
Use a brush to get off any dirt from the front mech. A toothbrush can be useful here to get to any parts that are hard to reach.
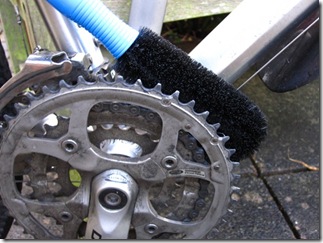 Use a cloth to floss the front mech so as to get in-between the different parts.
Give the bike frame some love
Using a clean cloth work your way around the frame using hot water and a cloth. I tend not to use washing-up liquid as it often contains salt which can rust the bike if not washed away properly.
General bike clean
It’s worth quickly going over the rims with a clean cloth to get off any extra dirt that could get caught in the brake pads.
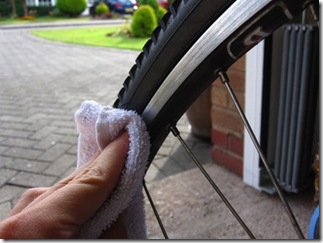 Brake pads are often ignored but are worth going over with the toothbrush. Also when doing your brake pads check they do not need replacing and that there are no metal bits stuck to them that need removing. Gently remove any stuck metal bits with a small screwdriver. If the brake block surface has become shiny, use some sandpaper to roughen it. Finally do the pedals and other parts of the bike with hot water and a cloth.
Polish for that extra special bike
By polishing the frame you prevent it picking up more dirt. Saddles can also benefit from some polish.
Final stage: Apply lube to moving parts
If all the components are dry then you can apply some lube.
Start off with the chain. Use a chain lubricant and apply sparingly on each link by moving the chain around. Allow to dry and then remove any excess with a cloth. This can feel counter intuitive as you have just lubed it but the only lube your bike needs is the one that sinks into the cracks. The excess simply gathers dirt. As a test the chain should feel only very slightly damp from the lube.
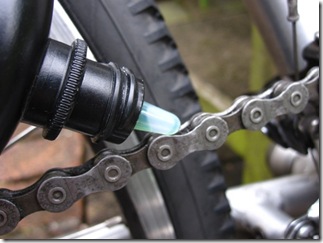 The same rules apply for the jockey wheels. They don’t need much as they gather most of it from the chain moving around.
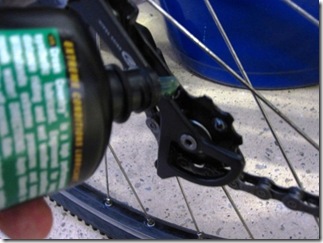 Use your fingers to apply lube to the front and rear mech. Aim to apply lube to any pivots.
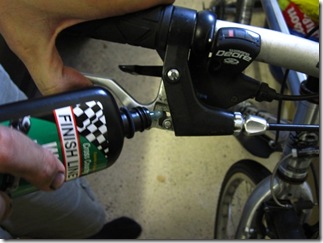
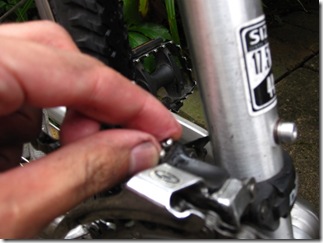 Move on to the handlebars. Lube should be added to the brake lever pivots and the gear shifters. As always use a cloth to wipe away any excess.
Finally apply a tiny bit of lube to exposed springs in the brakes (not the brake pad itself!) and any cables near the housing where they move around.
If anything else is squeaking apply a small amount of lube, work it in by moving the part around and wipe away any excess.
Common mistakes, further tips and discussion
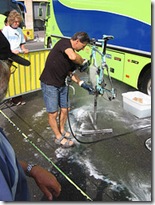 If you want to supercharge your bike cleaning routine it is much easier with a bike stand. You can either buy one or make your own. There is a lot of debate (yes people debate about bike cleaning) as to whether to hose down your bike using a pressure hose as the pro’s do. The truth is a pressure hose can cause damage to the bearings and the frame. Therefore, someone that is not sure about what they are doing is best just using a sponge and water which improves the long term life of a bike.
If there is one further cleaning routine I would follow it is cleaning the brake and shift cables and lubricating them. For instructions on this see this bicycle tutor video.
I personally don’t recommend removing the bike chain for cleaning as it can cause damage. You can do a perfectly acceptable job with it remaining on the bike.
Get the gear!
The gear isn’t necessary but it can make the job a lot easier. If you do splash out on the cleaning gear then make sure you get the right stuff that is recommended. Usually it is slightly cheaper to buy online than walk into a shop.
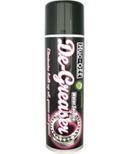 |
Muc-off degreaser – staple part of any cyclists toolkit |  |
Finish line cross country lube – requires less frequent application than other chain lubes |
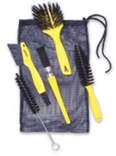 |
Pedro’s Bicycle Cleaning Kit – just as good as other cleaning tool kits but at half the price |  |
Chain cleaning kit – for that extra dirty chain that just won’t come clean this is exactly what you need. |
To not miss out on more maintenance tips, cycling news and advice you should sign up to email updates because I will only send you the stuff that will help you as a cyclist.
"

No comments:
Post a Comment